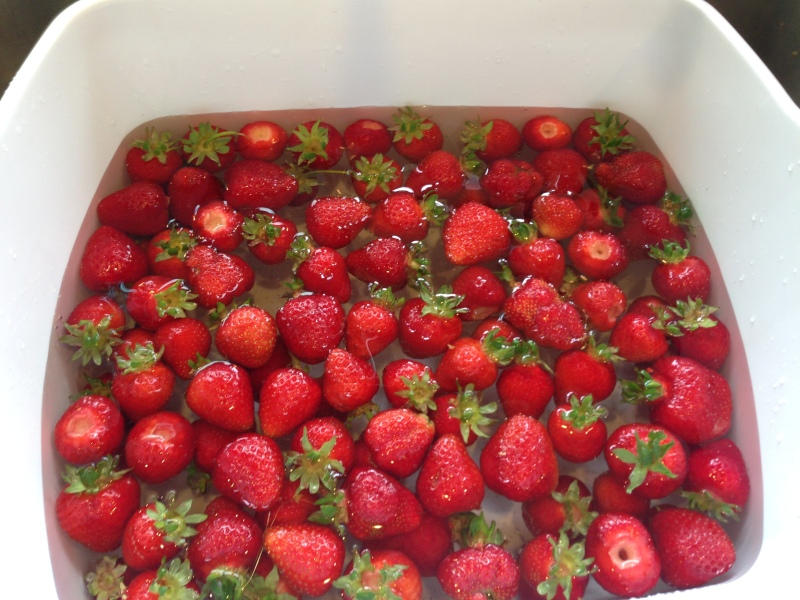
I adore this time of year when the local strawberries are ripe. Pacific Northwest strawberries are amazing, delicate and fragile. The flavor can take your breath away, unlike those horrible, tasteless ones shipped up from California all year long. Strawberries, more than any other fruit or veggie, remind me of how wonderful food can be when you wait for it to be in season.
The strawberry season is short, June to July usually, and I spend that time cramming as many of them into my family as humanly possible. I also tend to stay up late at night processing them in various ways so we can enjoy them through the year.
So this year I did my research and discovered a few local, organic strawberry fields that allow U-Pick. (BTW you should ALWAYS purchase/eat organic strawberries. They are the #1 most pesticide- and chemical-ridden fruit in the US. The guys who spray them literally wear hazmat suits.)
Why should you go pick your own? Why not just buy them from Whole Foods or your local farmers market? Here are my top 5 reasons to pick your own strawberries:
- It’s fun for the whole family. Your kids will love wandering through the fields and popping berries straight into their mouths.
- They’re cheaper when you pick them yourself. Most places around Seattle charge $2.50 per pound. I picked 13.5 pounds for $33. Compare that to the container you get at the grocery store for $4 to $5.
- They taste better! Berries that are allowed to ripen all the way in the field are sweeter than ones that were picked early to withstand shipping. You literally can get them at their peak ripeness, and once you’ve eaten them that way you’ll have a hard time settling for an inferior strawberry.
- You get to reconnect with how food is produced. I love going out to people’s farms and getting to meet the farmers. Most are run by various family members and it makes you feel good to know exactly who your money is going to.
- Picking your own produce can be hard work. Strawberries in particular can be tough on the back. All I could think about today was how poorly most agricultural workers are paid for such brutal labor. I picked for about 45 minutes to get my berries, I can’t imagine how hard it would be to do for 8 hours. We really should be paying more for our food.
Okay, so now I’ve convinced you to head out to a field and pick your own strawberries. What do you need to know, and what should you know ahead of time?
- Research your options online to find where you’d like to go picking. In the Seattle area, I look at Puget Sound Fresh, a great website that allows searches by location, produce, harvest time, etc. Some farms will have websites, some will only have Facebook pages. It’s important to follow the farm’s news so that they are open and have product when you want to go.
- Wear comfy shoes and clothes that you don’t mind getting dirty. Sometimes fields are muddy, and you never know when a rogue berry will land on your shirt. Don’t forget the sunscreen either!
- Check beforehand to see what you need to bring. Most places have containers for you to use to pick and then take home your berries, but double-check to make sure that’s the case. And even though cards are accepted almost anywhere nowadays, some farms still accept only a check or cash.
- If you are planning to bring a big group, it’s always nice to give the farm a heads up. The last thing you want to do is bring 15 people to a small farm you don’t know and find a limited supply of ripe stuff out in the field.
- Print out directions ahead of time. Some of these farms are out in the boonies and you may or may not have great cell reception.
Guidelines for picking strawberries in the field
- Start at the back of the field and work your way forward. This serves two purposes. One, the back is usually less picked over than the front of the fields meaning you’ll be done earlier. And two, if you start at the front and work your way to the back you’ll be carrying all your berries back to the front when you finish, which can get heavy. Take my advice, start at the back.
- Check your berries to make sure they aren’t half eaten by bugs. Strawberries grow on the ground and are a popular food to many different creatures so check your berries before you put them in your tray.
- Handle your berries gently. Ripe berries are delicate and bruise easily, you don’t want to pile them more than 2-3 layers deep. Definitely no tossing them into your tray.
- If you’re going to make jam, pick some berries that are not fully ripe. Specifically, you want some that still have a blush of white on them. As berries ripen, their pectin level drops dramatically, and a batch of jam made with 100% fully ripened berries will not gel well.
- Watch out for spiders.
Once you have your strawberries home you need to process them fairly quickly. Fully ripened strawberries will only keep in the fridge for a few days before going bad, so you need to do a couple of things with them other than just eating them like crazy. What are the options?
- Rinse and refrigerate them. Berries that you are going to eat fresh should be rinsed gently and put in the refrigerator until they get eaten. Fresh berries are wonderful on cereal, in salads, as a side dish for lunch or dinner or just eaten as a snack. They won’t need any extra sugar or doctoring. My next batch will be used to make a pavlova for a dessert!
- Freeze them for later. Freezing berries is a great option if you love to make smoothies or want some to eat during the winter. I leave the smaller strawberries whole and cut the larger ones in half. After rinsing them, I place them in a single layer on a baking sheet and freeze them. Once frozen, they can be vacuum-sealed or put into plastic freezer bags. By freezing the strawberries on the baking sheet first, you avoid them freezing into one enormous clump.
- Jam, jam, jam. Who doesn’t love strawberry jam? Tonight I made strawberry-rhubarb jam, yum!


One thought on “U-Pick Strawberries 101”